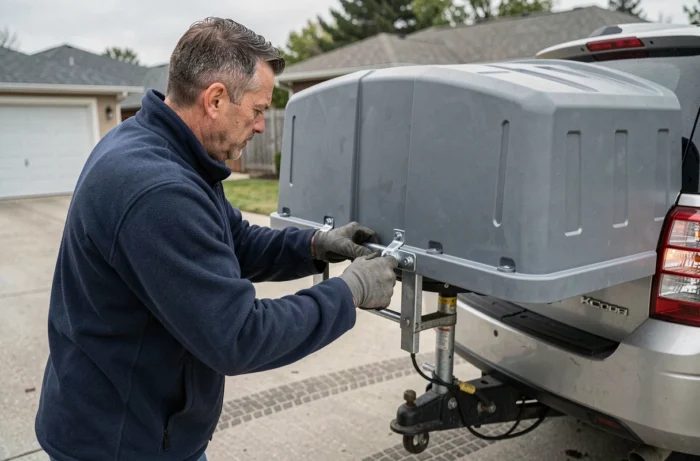
Transporting extra luggage on a long journey doesn’t necessarily mean putting it on the roof of the vehicle. A trunk mounted on a tow ball offers a more accessible alternative in height, is less penalizing on fuel consumption, and is often easier to load. However, the installation must be reliable, legal, and suitable for your hitch. This guide details the technical points to check before hitting the road with a hitch box.
Vertical load on the ball: the parameter your manual doesn’t highlight
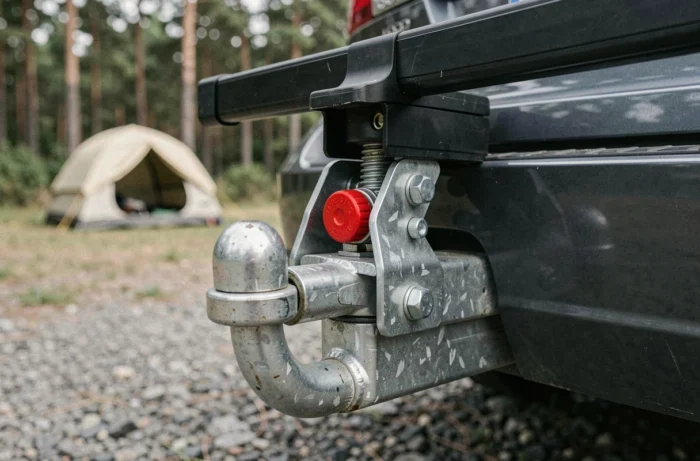
Before even choosing a box, the first piece of information to check is found on the identification plate of your hitch or in the vehicle’s maintenance booklet. This is the maximum vertical load allowed on the ball, expressed in kilograms.
This value limits the total weight that the ball can support in static support. It includes the weight of the empty box, the mounting support, and everything you put inside. If your hitch allows a low vertical load, a heavy rigid box filled with camping gear will quickly exceed the limit.
Why is this point often overlooked? Because most drivers know the GTW of their trailer but are unaware of this vertical load. Exceeding this value deforms the rear overhang, alters the behavior of the front axle, and can damage the hitch crossmember. To understand how to attach a box to a tow ball safely, this figure is the first filter for selection.
License plate and rear lights obscured: legal obligations in France
A box mounted on the tow ball extends beyond the rear of the vehicle. It therefore partially or completely obscures the license plate and the lights. This is not a mere aesthetic detail; it is an offense if nothing is done to remedy it.
Article R317-8 of the Highway Code requires that whenever equipment obstructs rear visibility, a homologated repeater plate displaying the same number as the original plate must be installed. At the same time, a complete rear signaling kit must be connected to the vehicle’s electrical socket (7 or 13-pin format depending on the hitch).
This kit includes at least the position lights, brake lights, and turn signals. Without this device, you risk a fine and, more importantly, you become invisible to vehicles following you at night or in bad weather. Any hitch box that obscures the lights requires a connected signaling kit.
Check the electrical socket before purchasing the kit
Not all hitch sockets are the same. The 7-pin socket provides basic functions (turn signals, brake lights, position lights). The 13-pin socket adds reverse lights, rear fog lights, and a permanent power supply.
If your vehicle is equipped with a 7-pin socket and your signaling kit requires a 13-pin, an adapter exists but it will not transmit the additional functions. Check compatibility before ordering.
Hitch approval: a false administrative obligation that persists
You may have read that installing a hitch requires a visit to the DREAL or a modification of the registration certificate. In most cases, a hitch approved ECE R55 does not require any additional steps if box F.3 (GTW) of your registration certificate is filled out and you remain within the weight limits set by the manufacturer.
This regulatory clarification, confirmed in 2026, simplifies life for those wanting to add a hitch box to an already equipped vehicle. The verification boils down to three points:
- The hitch bears the mention ECE R55, visible on its plate or in its certificate of conformity
- Box F.3 of the registration certificate indicates a GTW greater than the empty weight of the vehicle, confirming that the manufacturer has planned for towing use
- The vertical load on the ball and the total rolling weight are not exceeded once the box is loaded
If these three conditions are met, no specific technical inspection or administrative modification is required to use a box on the ball.

Securing the hitch box: concrete steps and checkpoints
The box support slides onto the ball and locks via a clamping mechanism, which varies by manufacturer (cam lever, locking screw, pin). The box itself is then attached to the platform of the support.
Before departure: the checklist
Once the box is installed and loaded, review these checks:
- Shake the box laterally and vertically to detect any play, even slight, at the ball or platform
- Check that the rear signaling kit is functioning (ask someone to operate the brakes and turn signals while you observe)
- Ensure that the repeater plate is readable and correctly oriented
- Make sure the total loaded weight remains below the maximum vertical load allowed, weighing the full box with a luggage scale if possible
Weight distribution in the box
Place the heaviest items at the bottom of the box, closest to the ball. This position reduces the lever arm and limits the swinging effect while driving. Light and bulky items go on top and towards the outside.
Avoid concentrating all the weight on one side. A lateral imbalance, even moderate, is felt in turns and during braking, especially on wet roads.
Driving with a box on a tow ball: what changes
The extended rear overhang alters the weight distribution of the vehicle. The front axle is slightly lightened, which reduces steering grip. Adjust your driving accordingly: longer braking distances, reduced speed in tight curves, and increased anticipation in roundabouts.
The vehicle’s dimensions also increase towards the rear. During reversing maneuvers, the box often extends beyond the bumper by several dozen centimeters. Reverse sensors and parking assistance cameras do not detect this additional obstacle. Take a visual reference in your mirrors before each reverse.
The box on the tow ball remains a reliable and practical transport solution, provided you respect the vertical load of the hitch, install the regulatory signaling, and check each attachment point before departure. These few minutes of checking prevent surprises on the highway and a fine at the first control area.